

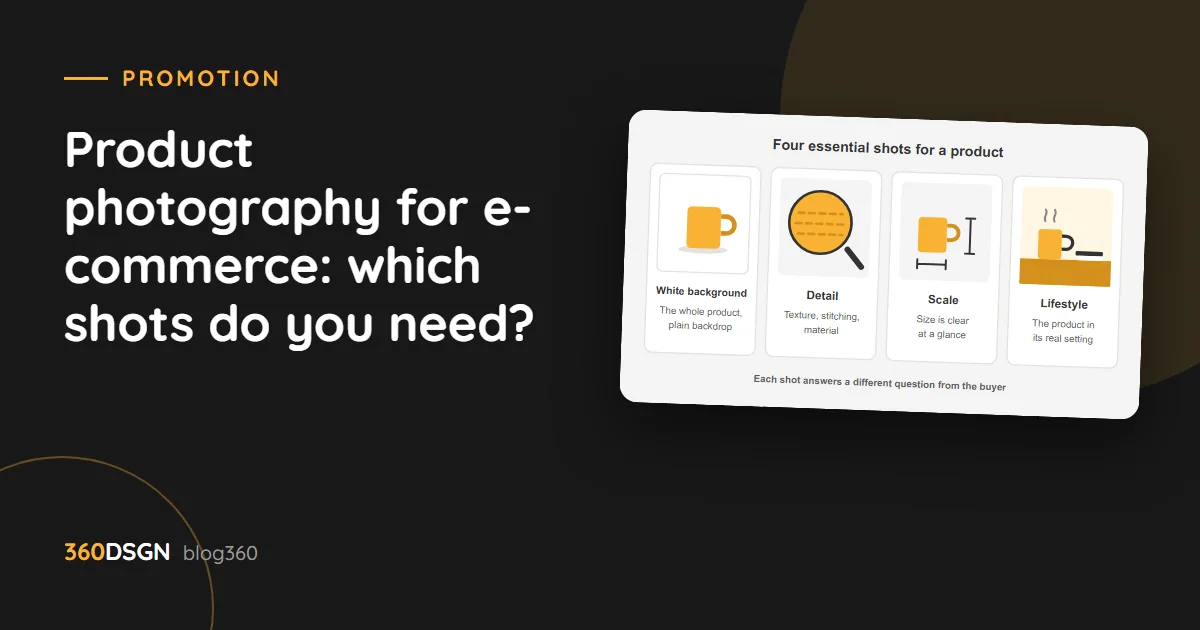
Someone shopping online can’t touch the product, weigh it in their hand or look at it up close. The photo has to do all of that. The short answer: a product needs at least four types of shot: a main image on a white background, a detail shot, a scale shot and a lifestyle shot. In this article we explain what each of these shots is for, how to prepare for a shoot and the most common mistakes.
Which shots does a product need?
Each shot answers a different question in the buyer’s mind. If the question goes unanswered, the buyer either messages the seller or leaves the page.
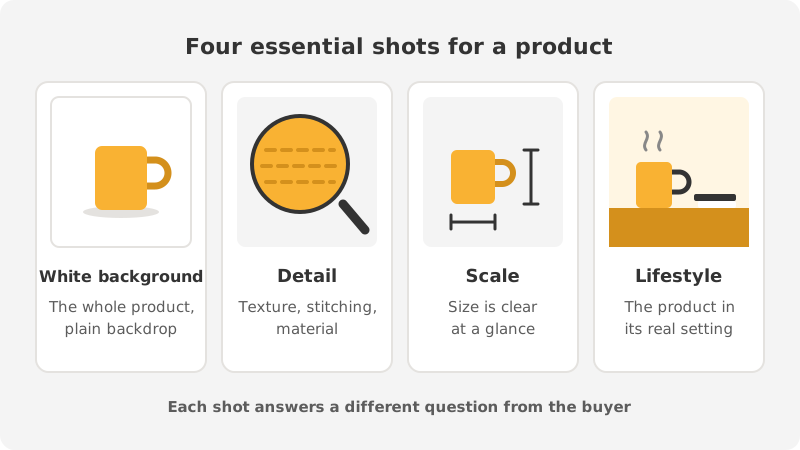
Main image on a white background
It shows the whole product clearly on a plain background. This is the shot that appears on listing pages and in search results. If you sell on marketplaces, check the background and size rules for the main image before the shoot. The product should fill the frame, with no unnecessary empty space at the edges. Front, back and side angles are shot with the same setup.
Detail shot
The texture of the material, the stitching, the zipper, the joint, the label. Every spot a buyer would pick up and examine in a store needs a close-up. Quality is described in the copy, but it is shown in these shots.
Scale shot
“How big is it?” stays in the buyer’s mind even when there is a size chart on the page. A single shot showing the product in a hand, on a table or next to an object everyone knows answers that question faster than the chart.
Lifestyle shot
It shows the product in its real setting: the plate on a dinner table, the lamp on a wall, the coat being worn. The buyer pictures the product in their own life. These shots are also used in social media posts and ads, which is why we plan for both landscape and portrait framing during the shoot.
How should the shots be ordered on the product page?
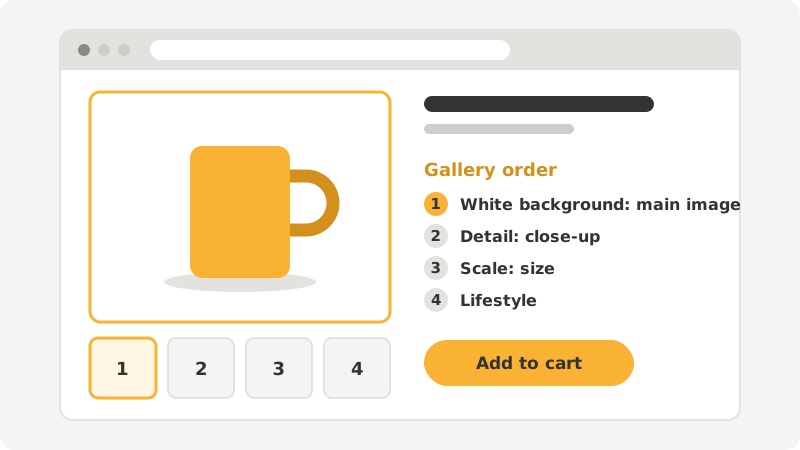
The order of the gallery is a decision too. The first shot is the main image on a white background, because that is the one that appears on the listing page. Detail, scale and lifestyle shots follow. As the buyer moves through the shots in order, they first get to know the product, then examine it, then place it in their own life.
How do you prepare for the shoot?
A productive shoot day depends on the preparation done beforehand. Before the shoot we settle the following:
- Product list: which products, colors and sizes will be shot, and how many shots are needed of each product.
- Clean, complete products: dust, fingerprints, creases and label residue show up immediately in a close-up.
- Where the images will be used: on the website, on a marketplace or in ads? The aspect ratio and background are chosen accordingly.
- Reference shots: a few images you like convey what you want better than words.
- Props: the items that will appear alongside the product in the lifestyle shots.
Why does consistency matter?
If the products sitting side by side on a category page are shot some on white and some on gray, some close up and some from a distance, the store looks messy. The buyer struggles to compare products.
For consistency, the lighting, background, angle and the size of the product in the frame are kept the same across all products. Writing the shooting setup down once ensures that new products added months later look the same as the existing ones. Color is part of this too: the color on screen should be as close as possible to the product’s actual color.
How are the images prepared after the shoot?
The work doesn’t end when the shoot does. The shots are selected, color and background are corrected, and dust and minor flaws are cleaned up. Each image is then saved for where it will be used: a lightweight, fast-loading version for the website, a version at the required dimensions for the marketplace, and a high-resolution version if print is needed.
Naming the files by product code makes it easier to upload a large number of images to the site. A short piece of alt text added to each image also helps search engines understand the product.
Common mistakes
- Settling for a single shot. The buyer’s questions go unanswered.
- Over-retouching. If the product doesn’t turn out to look like the photo, the buyer is disappointed; the price you pay is returns and negative reviews.
- Mixed lighting. When window light and lamp light meet in the same shot, the colors go off.
- Heavy files. Uncompressed images slow the page down. Images should be uploaded at a size and in a format suited to the site.
- Using only the manufacturer’s image. The same photo is on other stores too; it does nothing to set yours apart.
In summary
The white background shows the product, the detail shot shows its quality, the scale shot its size and the lifestyle shot its place in everyday life. Shooting these four types of shot with a consistent setup gives the product page a solid foundation to do its job.
At 360DSGN we handle product shoots from planning through delivery and prepare the images at sizes suited to your e-commerce website. For details, take a look at our photography page or contact us.